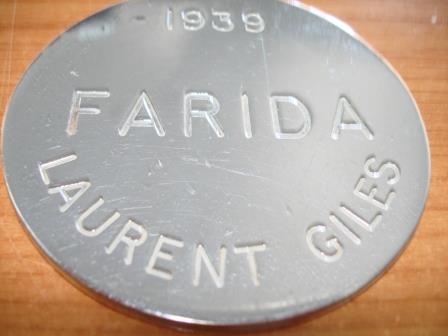
Laurent Giles Wooden Classic Restoration Project
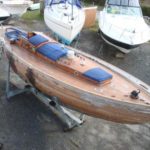
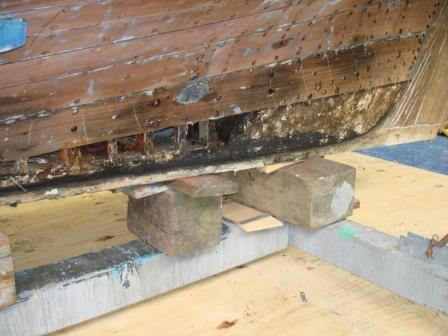
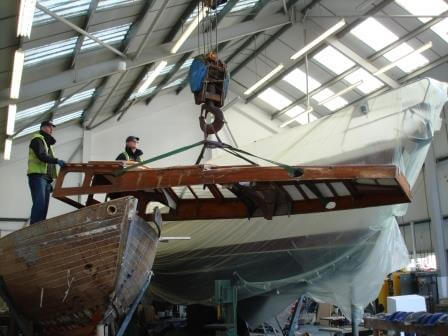
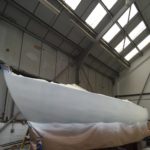
Here is a 35ft Laurent Giles wooden Classic, came to us late 2013, after a complete hull survey it was apparent that this was going to be a big project, after a sit down chat with the owner we decided to break the project down into sections.
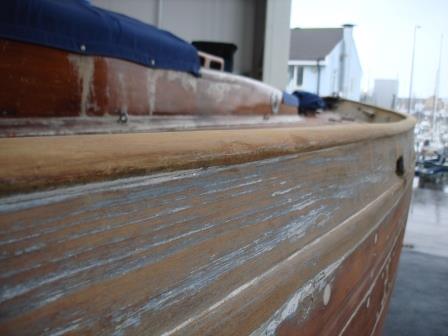
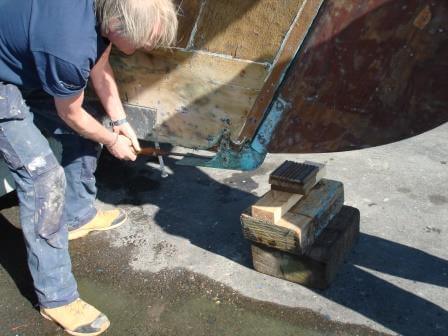
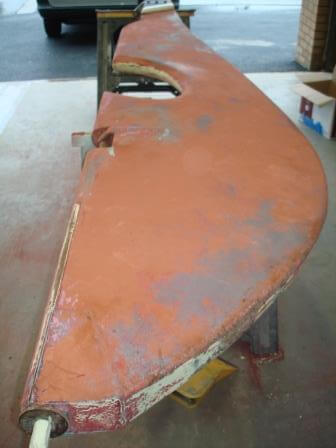
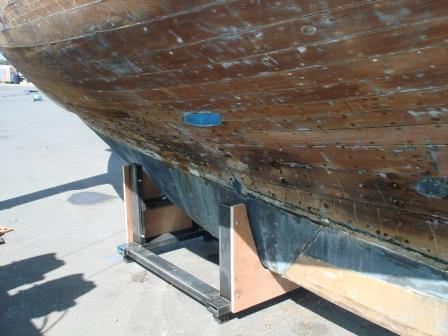
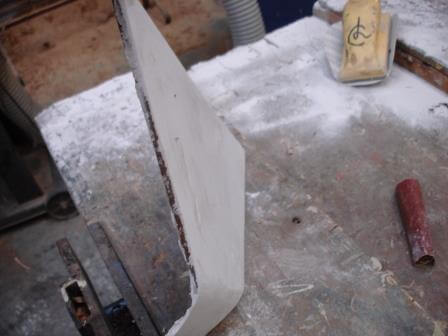
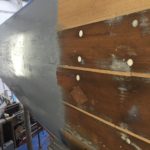
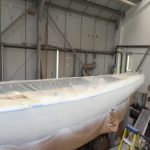
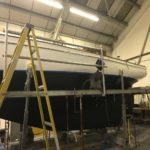
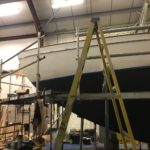
First section of work was to remove all the paint from the hull, this was carried out by blasting with soda, the soda media is quicker at removing the paint and is kinder on the planks than burning it off, plus burning off just eats up man hours.


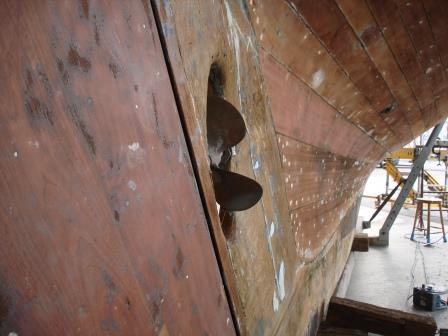

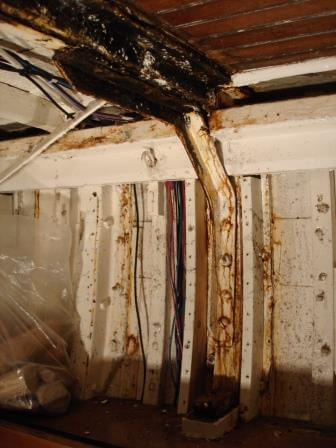
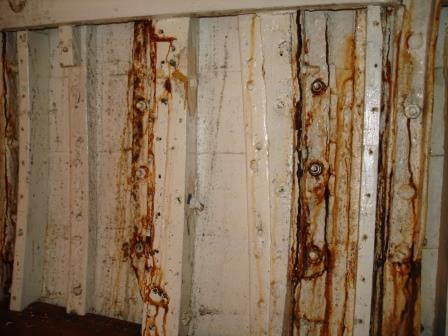
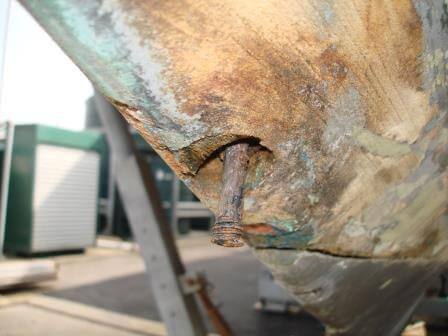
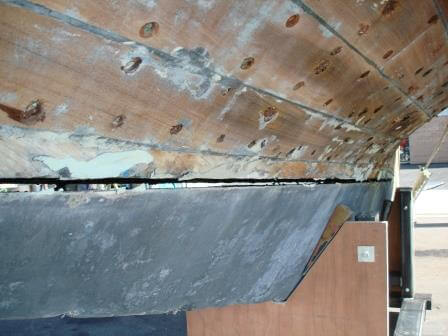
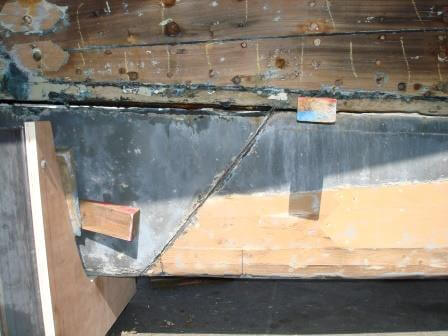
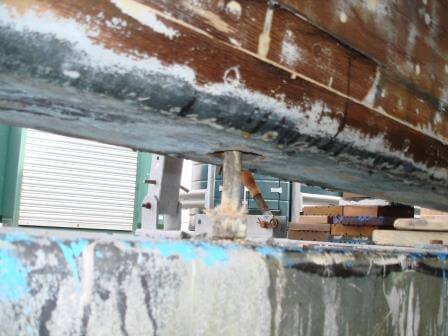
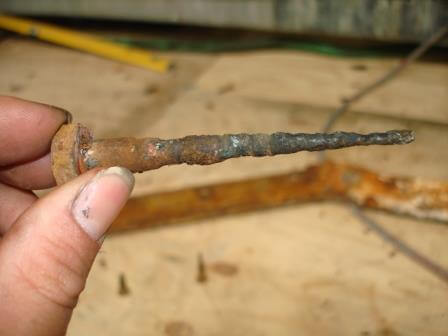
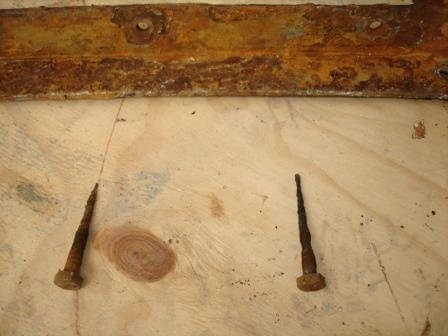
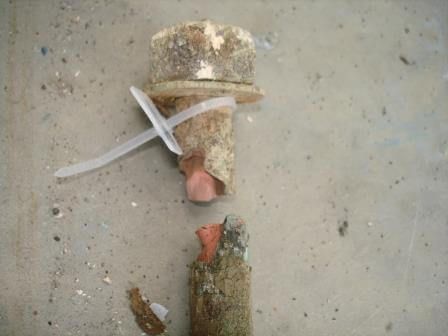
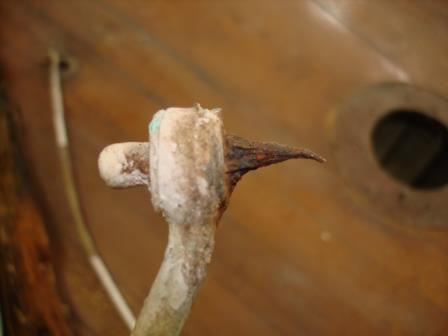
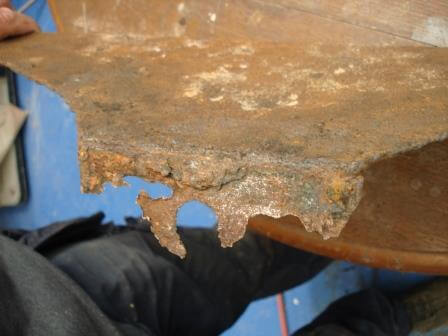
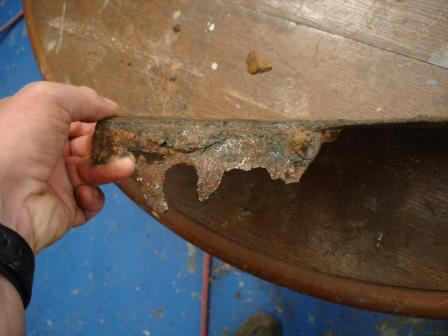
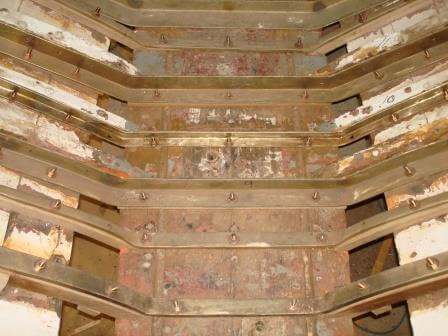
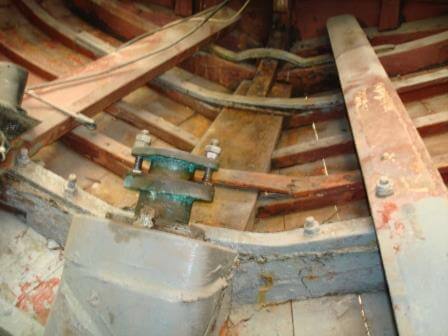
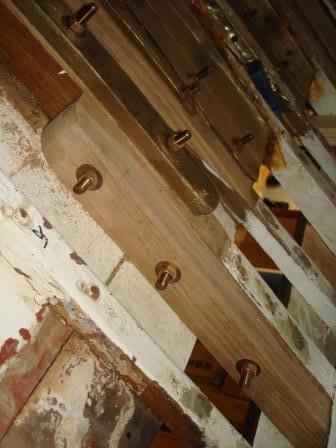
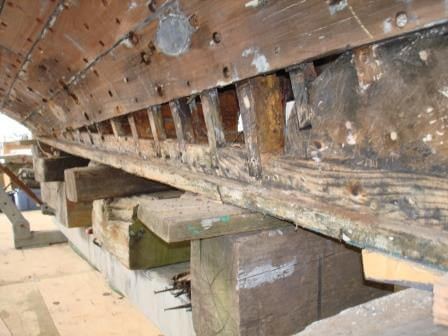
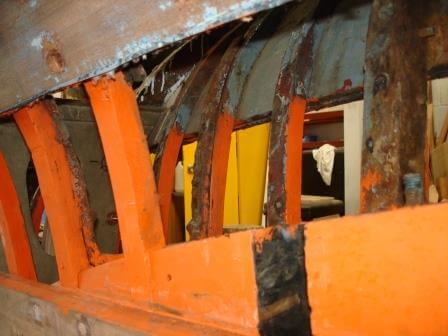
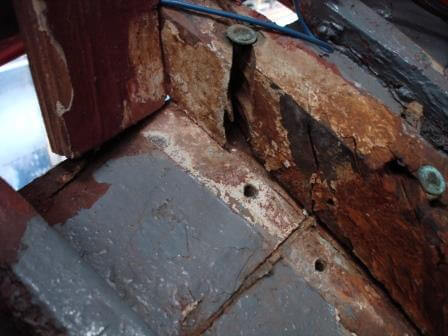
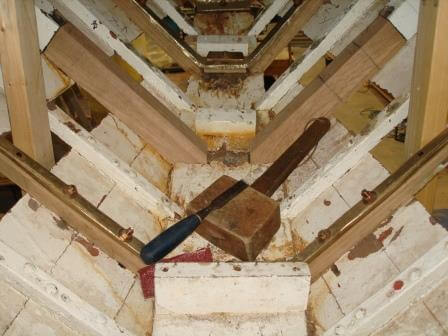
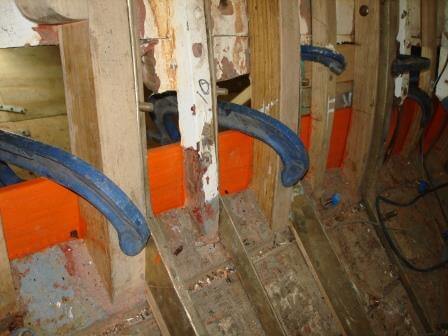
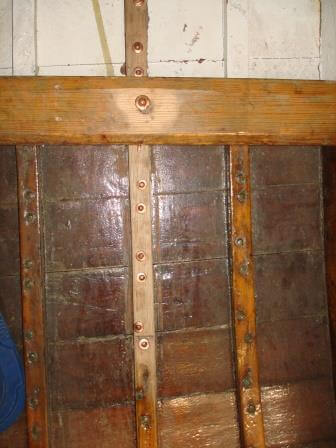
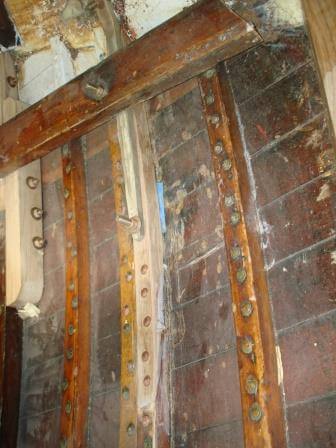
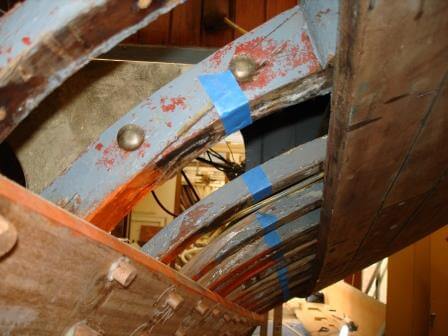
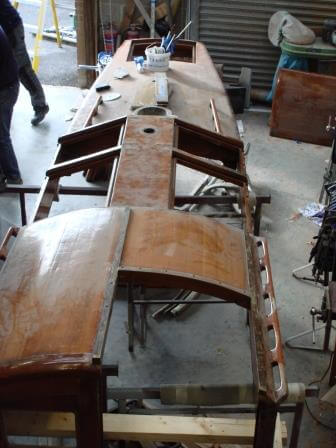
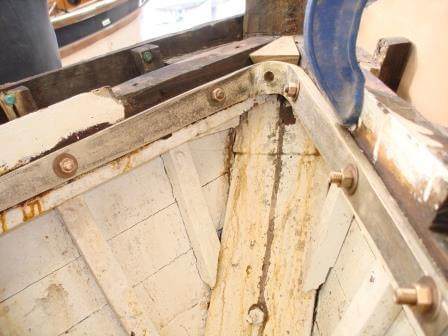
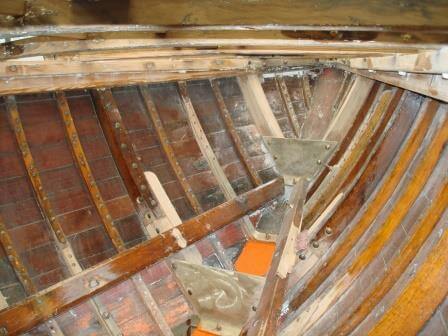
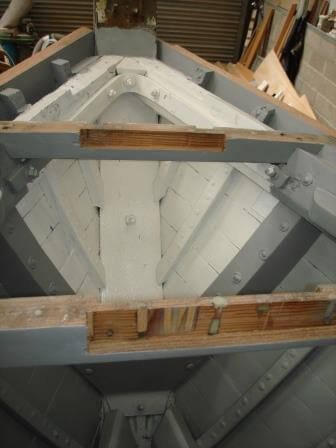
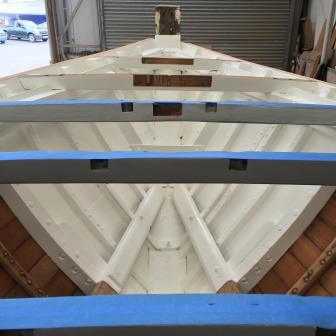
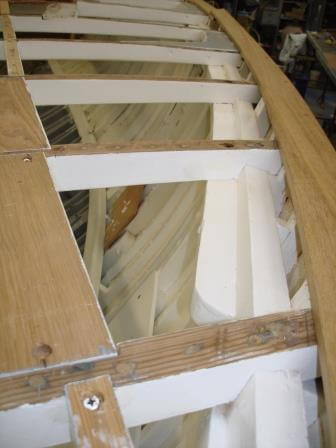
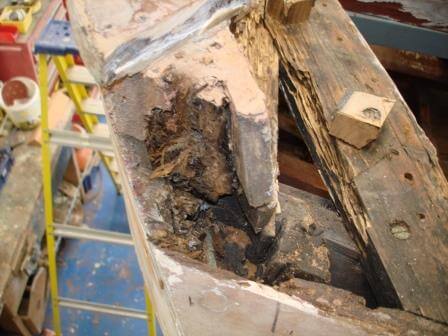
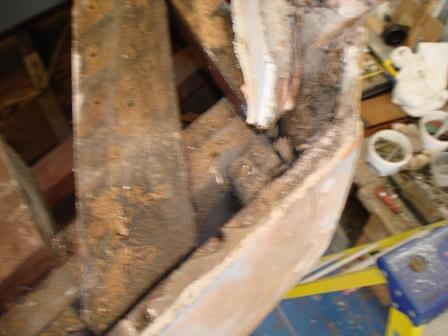
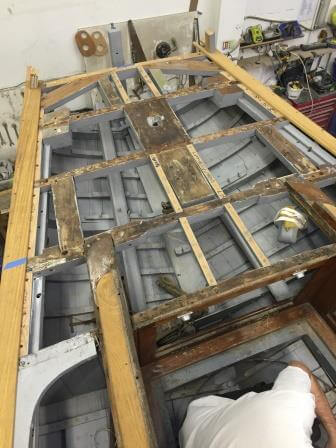
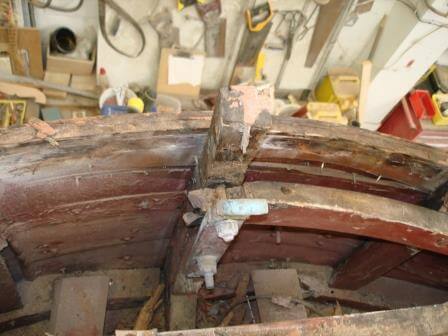
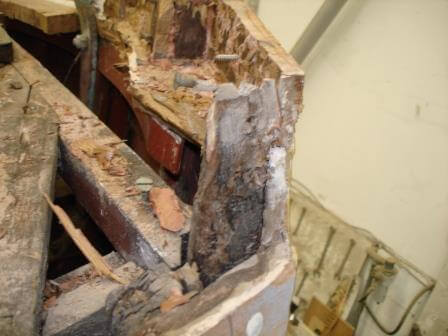
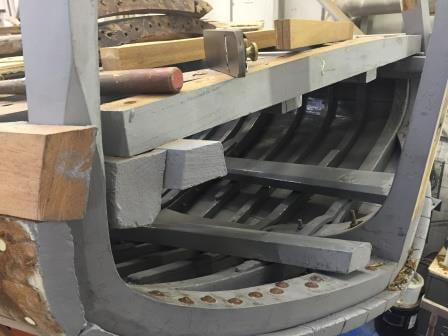
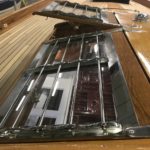
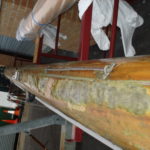
Next display of pictures are some internal shots of the problems that boats had for example, all the metal work was rotten and a lot of the floor straps had no fixings through into the wood keel and also wood frames that hold the planking together were found to be cracked and shifting.
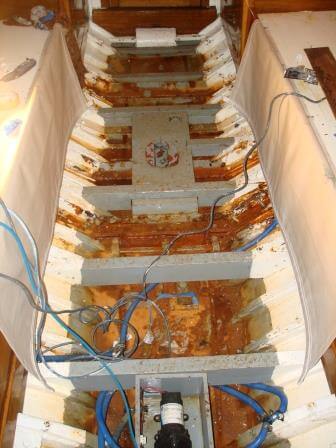


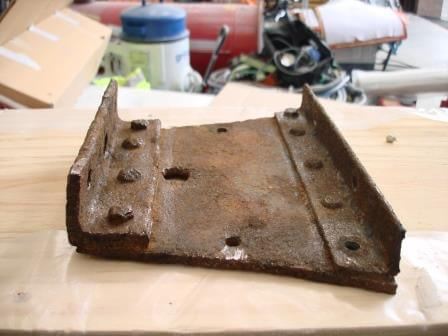
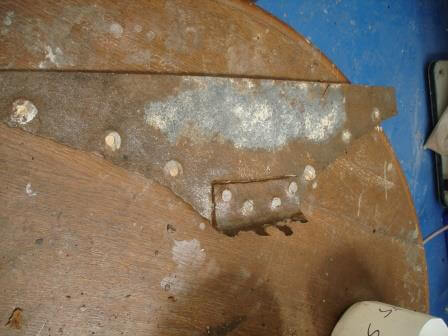
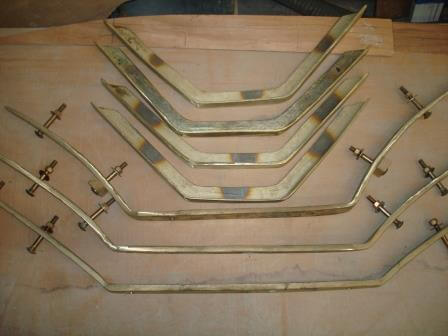
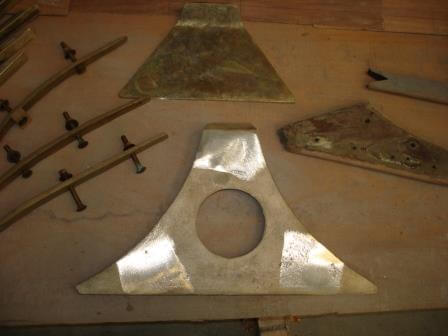
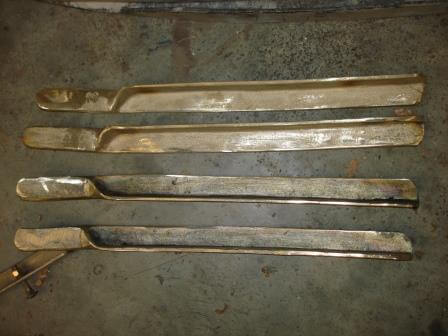
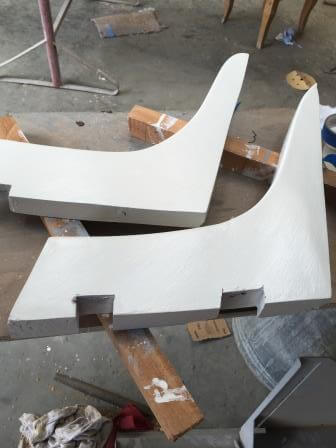
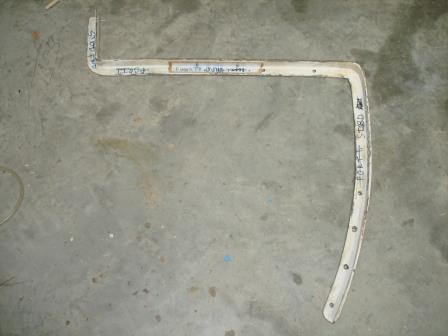
The next section of work was the removal of the mild steel floor straps and floors, all were removed, filled and faired so that we could use them as patterns for the new castings. All straps were replaced with AB2 bronze fittings as per the owner specification so that the boat would not have any more rust problems in the future, secondary to this they are incredible strong and with last for 30+ years. All new floor, floor straps and brackets were individually drilled and all new bolts were made and threaded by hand as we were unable source the required length off the shelf.


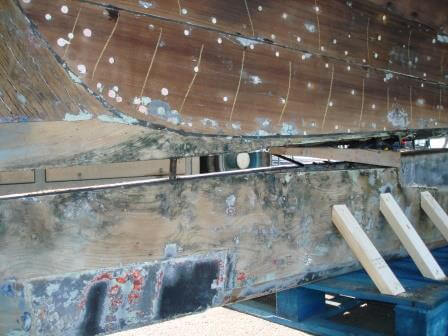


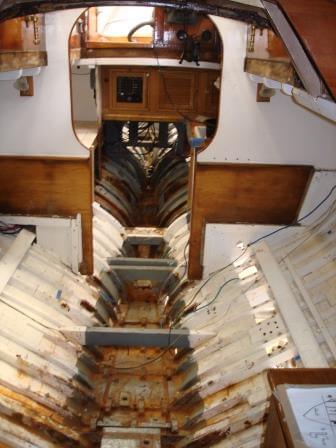


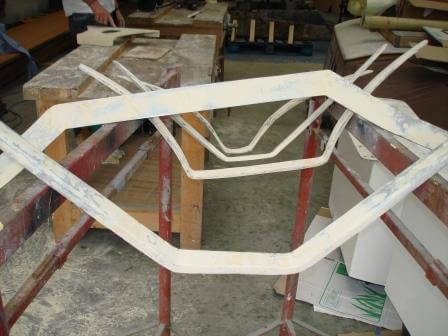

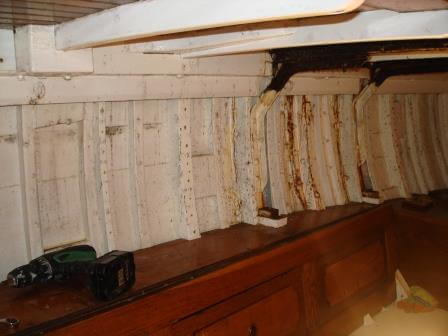
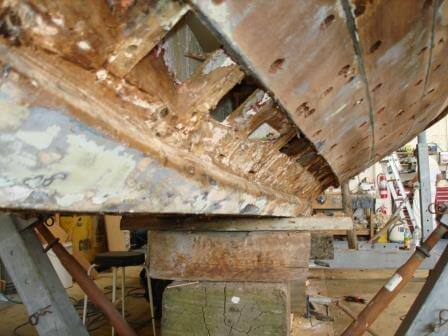
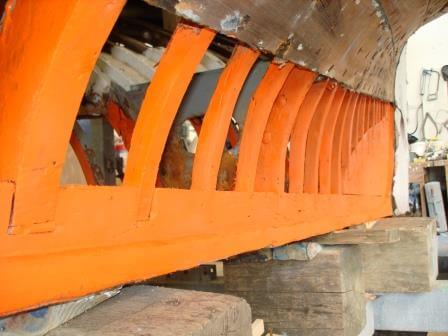
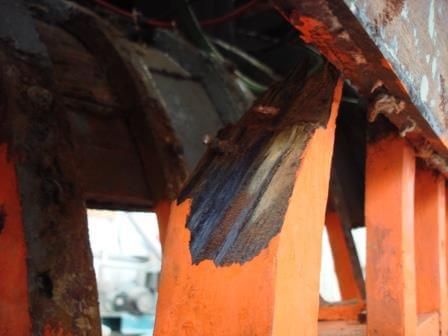
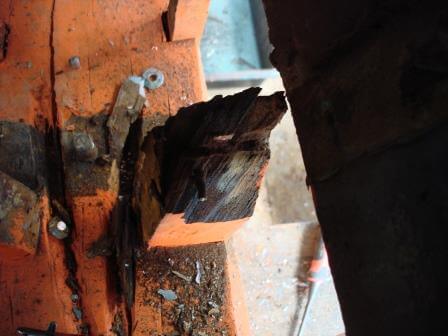
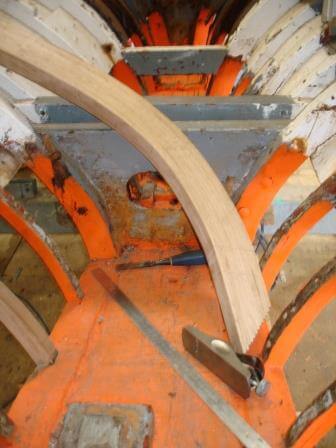
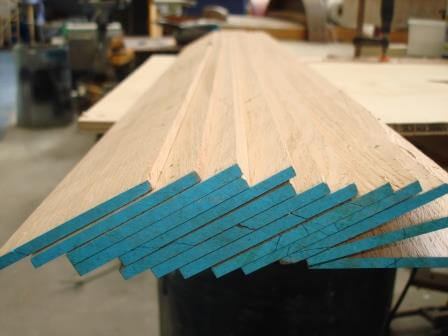
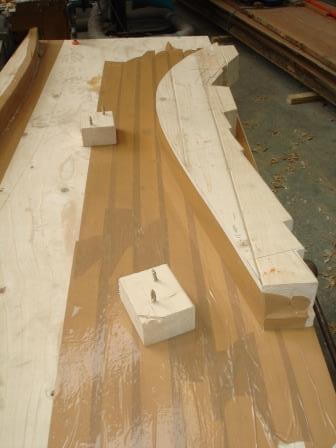
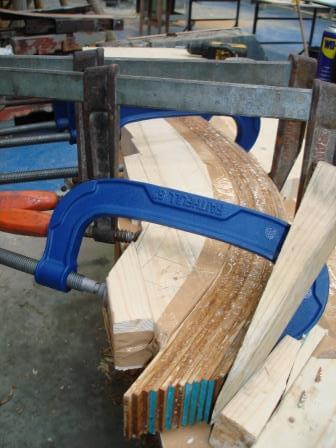
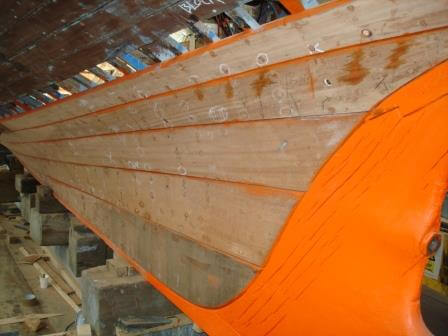
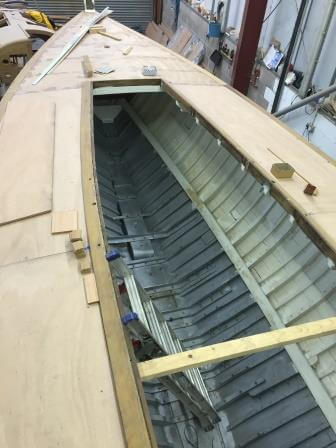
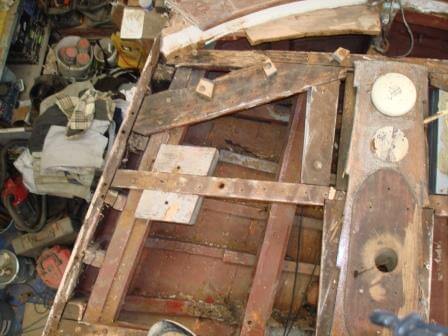
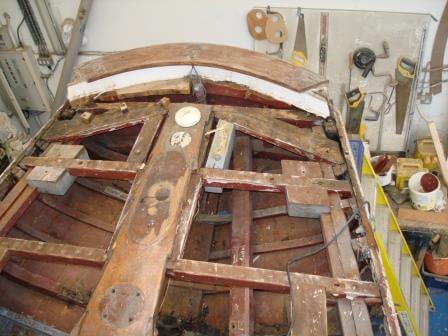
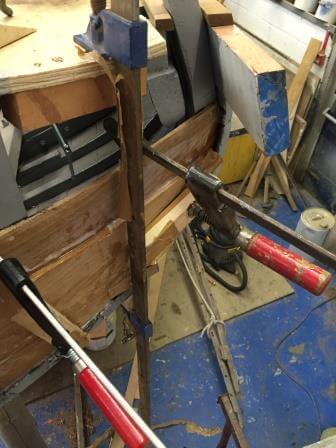
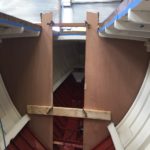
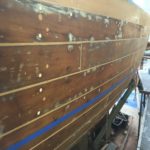
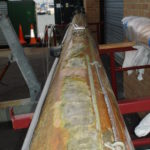
We removed the planking from the Port and Starboard side to expose all the work ahead, nearly all grown wood frames (3” x 21/2”) and the small wood frames (11/4” x 11/4”) at the turn of the bilge were fractured on both Port and Starboard side. You can see from the pictures below the amount of work that has gone into re-doing all the frames, the total that required replacing was 156 small wood frames and 12 large grown wood frames all had to be hand cut and all the wood had to be individually cut into laminates and all glued in jigs to form the shapes required for all frames and then all had to be fitted with copper nails and roves.
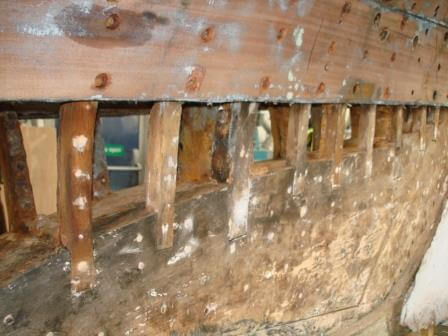

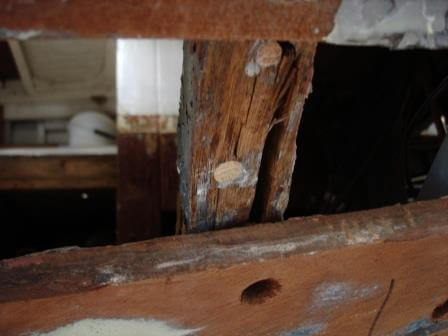

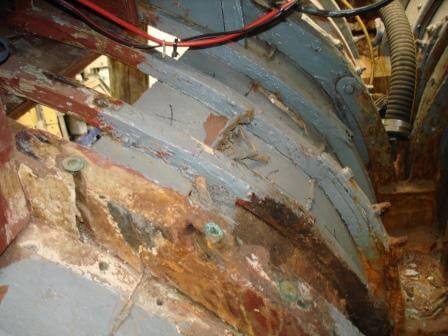


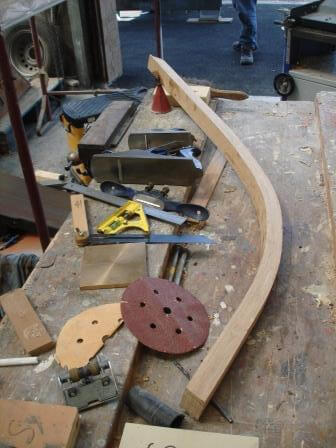


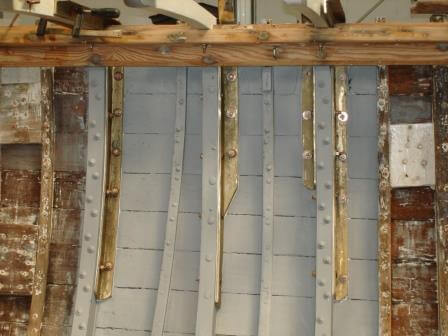
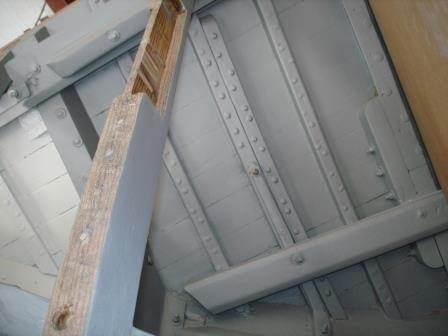
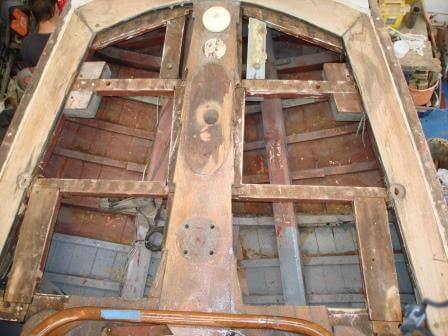
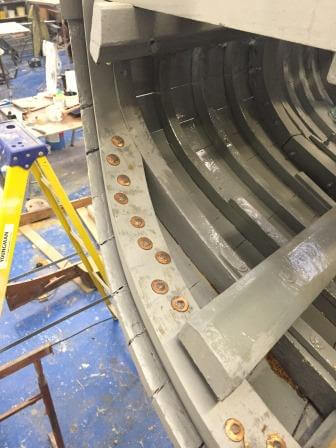
The following photos show where the chain plates were fixed to the hull, the frames were rotten and in all 10 small wood frames 4 of had to be completely replaced and 6 grown frames needed replacing, all had to be re-nailed using copper nails and had new strap frames and bronze chain plates.


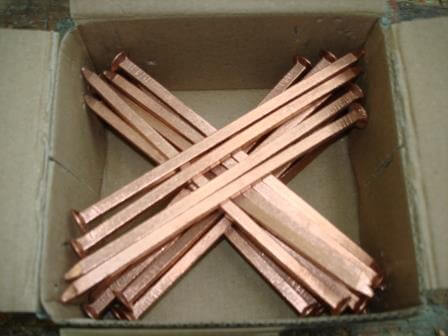
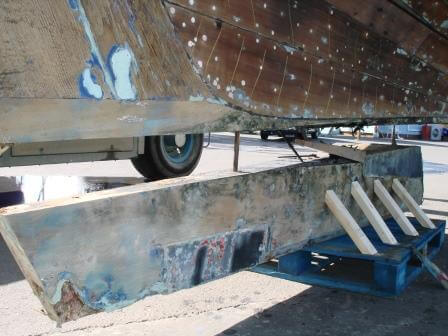
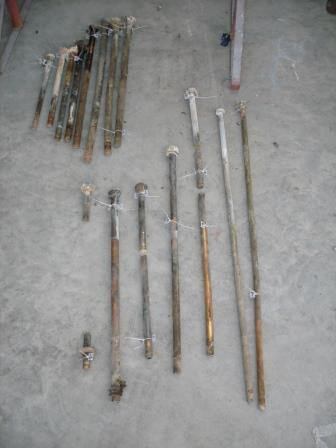
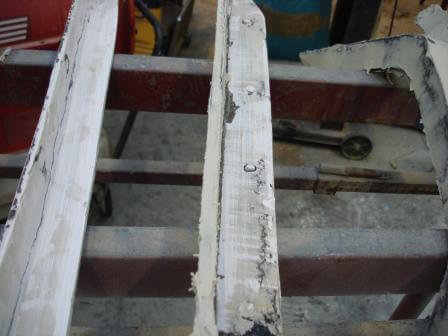
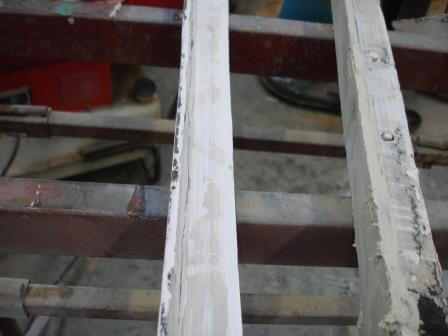
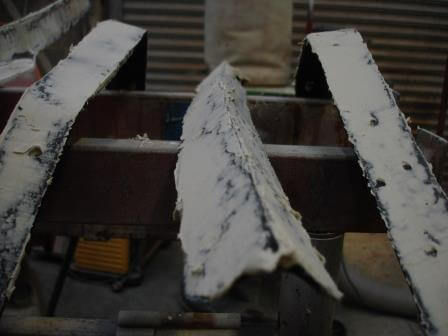
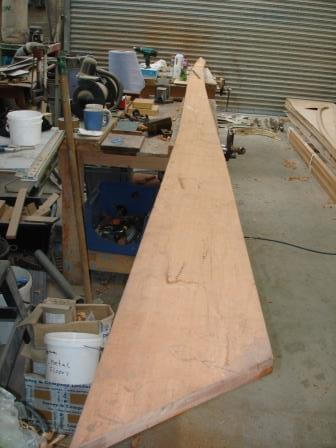
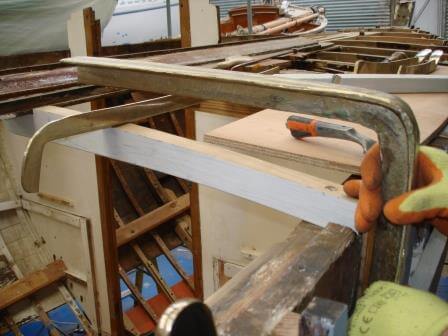
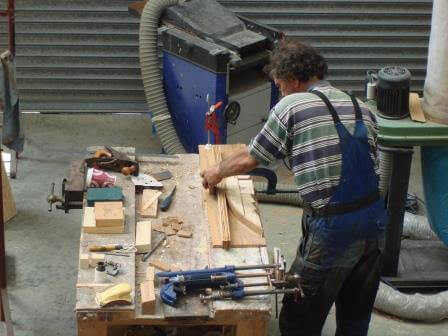
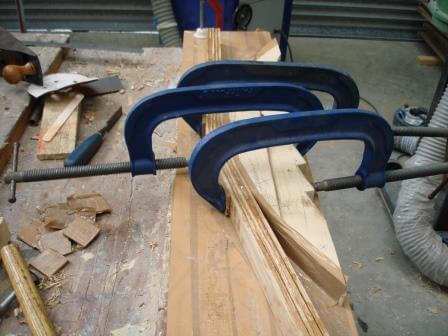
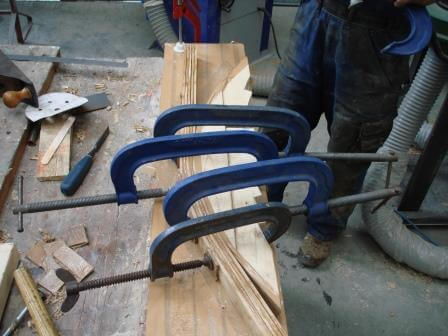
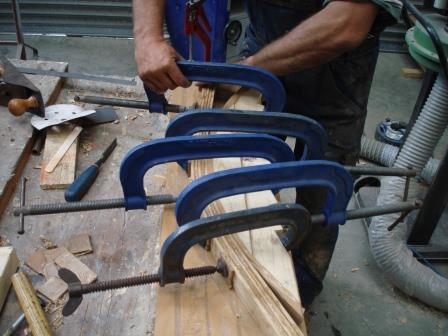
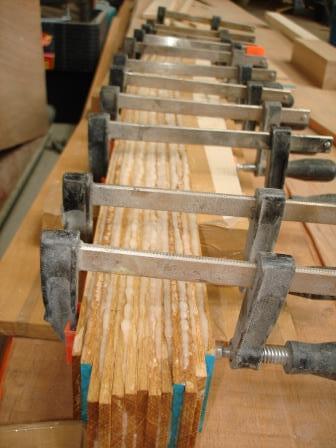
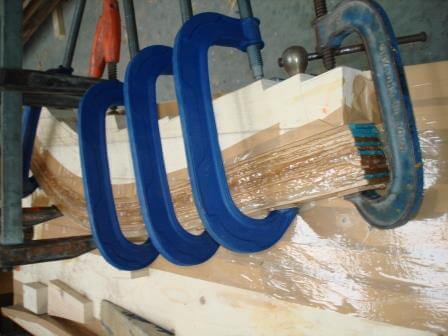
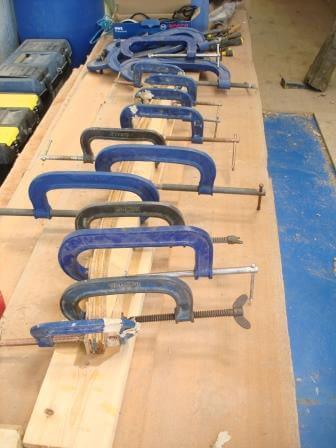
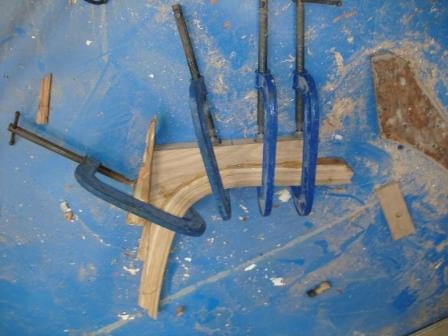
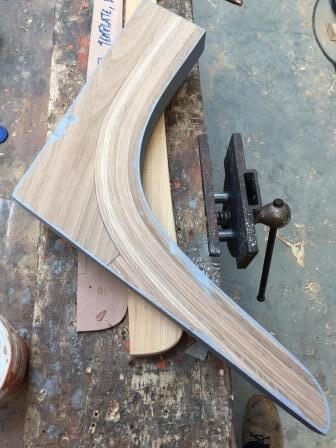
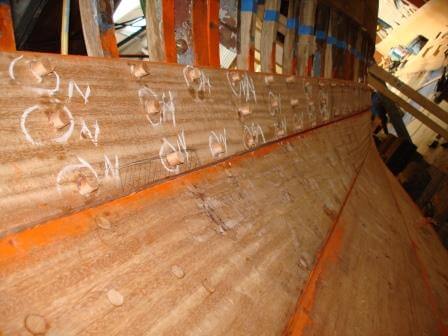
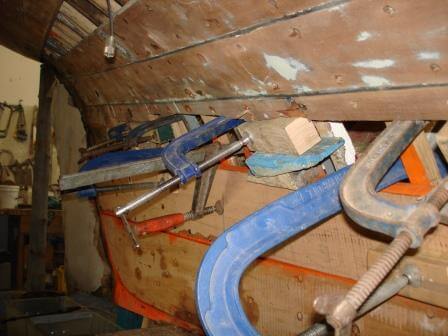
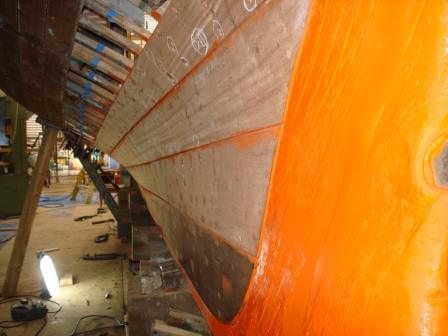
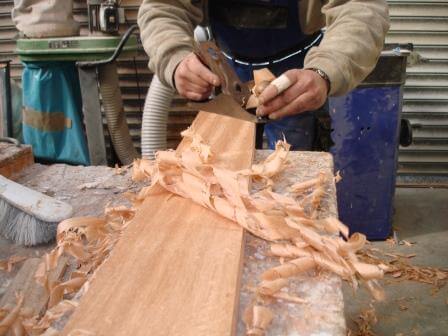
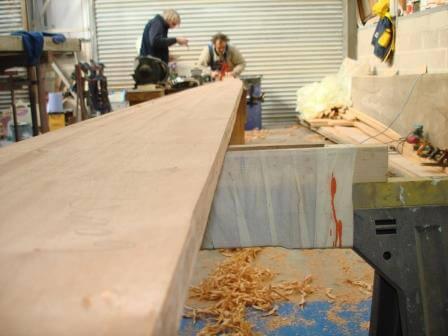
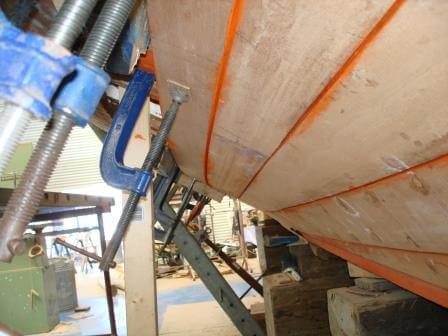
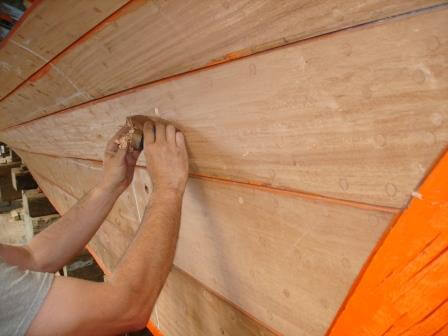
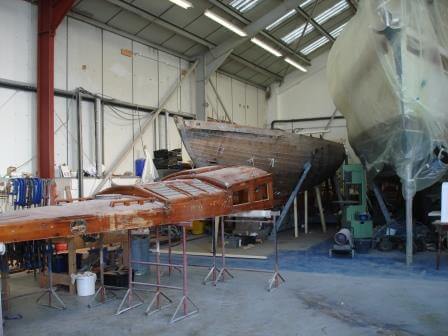
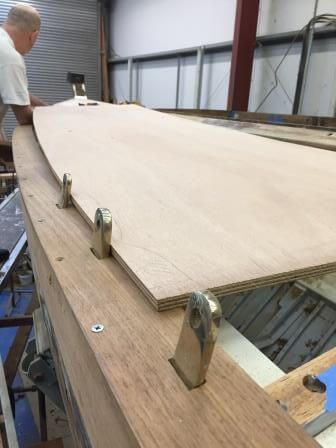
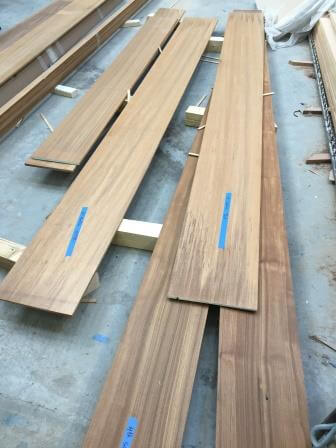
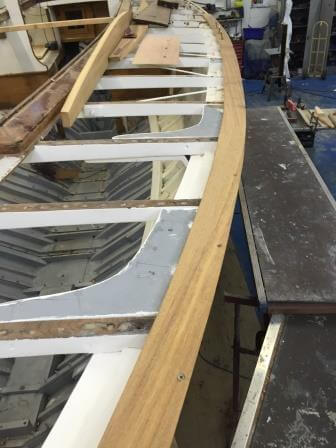
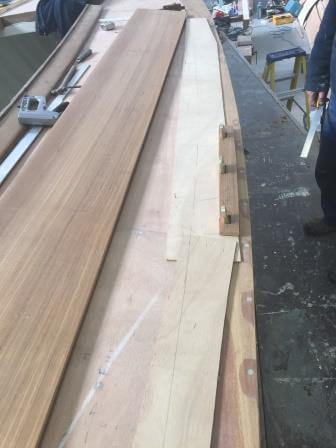
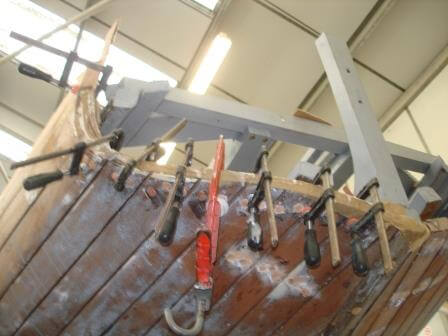
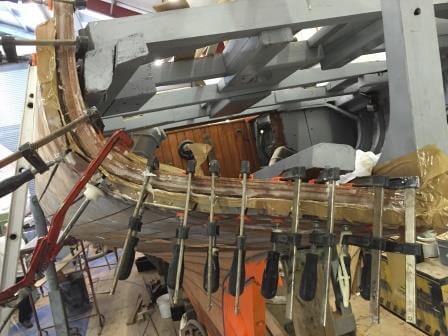
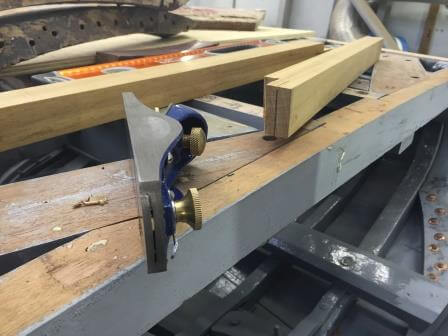
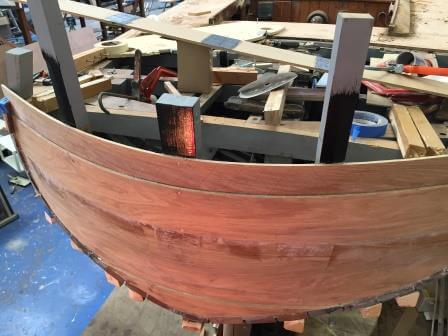
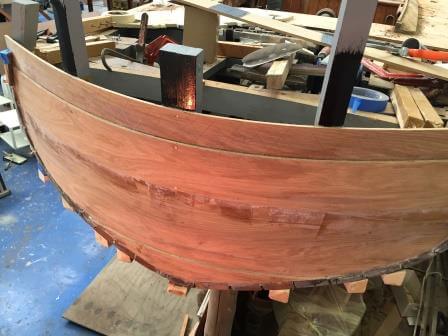
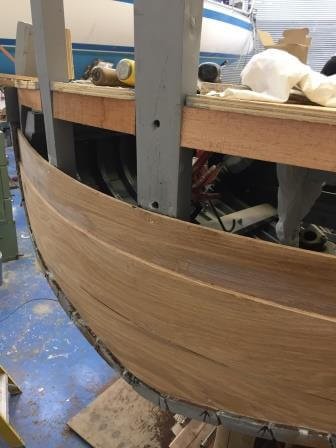
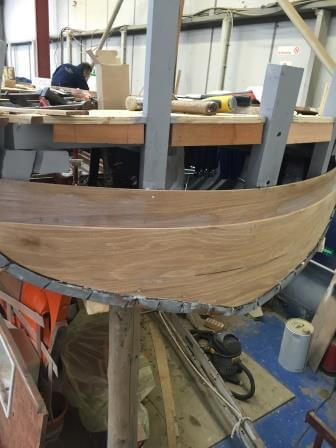
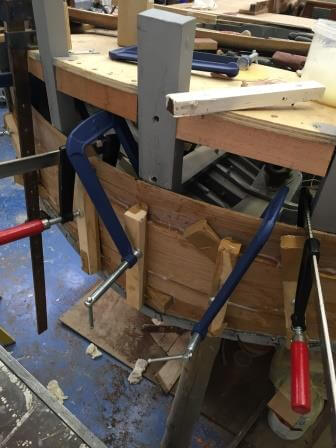
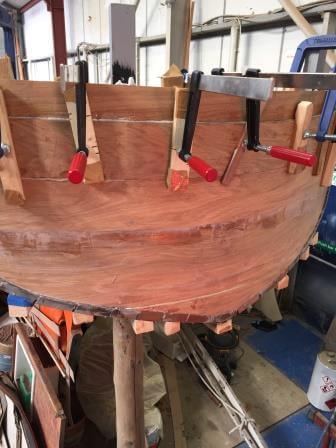
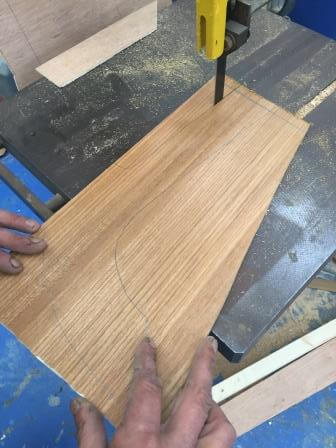
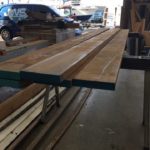
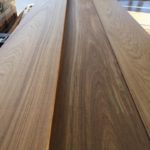
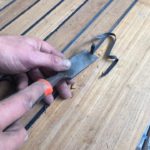
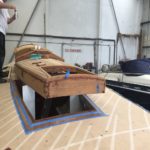
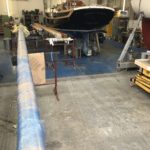
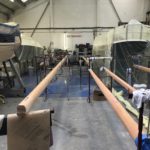
Plank work to the hull was our next section of work, the removal and replacement of 6 Port and 7 Starboard planks, this was carried out using 10m x 800mm planks of Kayenta mahogany from the Cashew tree, the individual planks were removed and a template was taken for the new planks, this was transferred to the plank of mahogany and cut to size and all shaped by hand using planers etc. 2 planks per length, on planks where we were required to do one plank, the planks were joined using stopped scarfs, this process was carried out individually 26 times and all had to be copper nails and roved in place by hand.


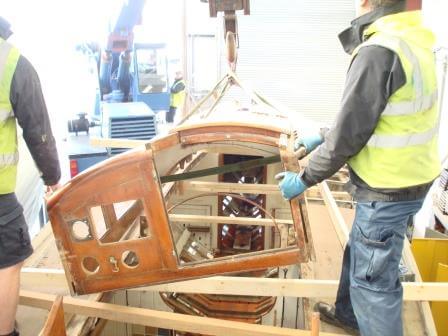
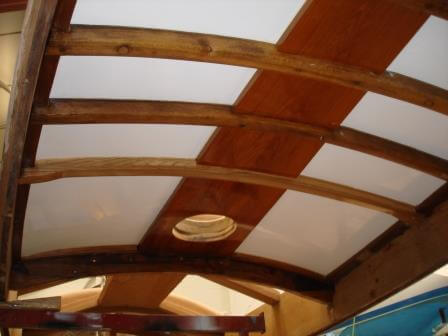
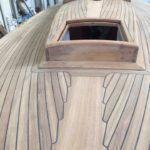
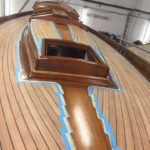
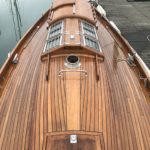
We had some work to do to on the coach house roof due to it having some rotting sections and leaking. We removed the entire coach house roof from the boat so that it was easier to work on while we removed all the varnish, this also gave better access to the deck area and the works required.
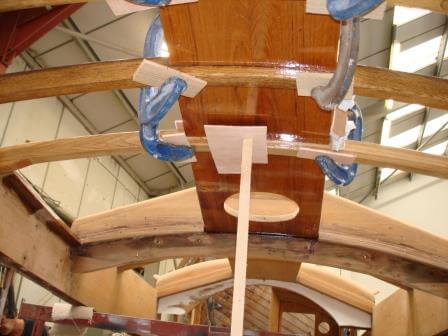
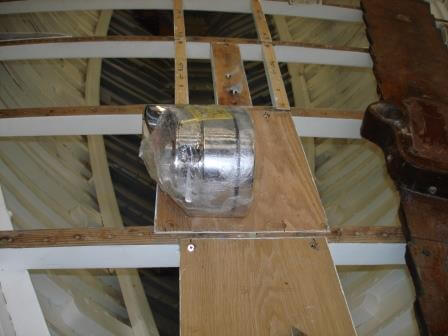
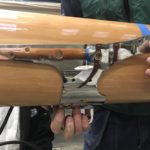
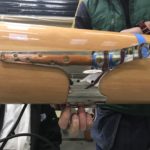
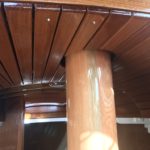
With the refit of the mast ring on the forward section, this was found to be rotten and on dismantle it was found to have peg board instead of plywood under the old teak boards, we removed this and re-worked the area to make it watertight and looking good again.
Removing the top was not easy as all fixings were bronze bolts that were specially fabricated for that purpose, therefore we had to have new ones fabricated to the same spec as the old. With wooden boats all the old fixings they used where hand made to the spec required, over time we at JWS have managed to enlist some specialist fabricators that can assist with projects like this, without them carrying out re-fits of this nature would be extremely difficult.
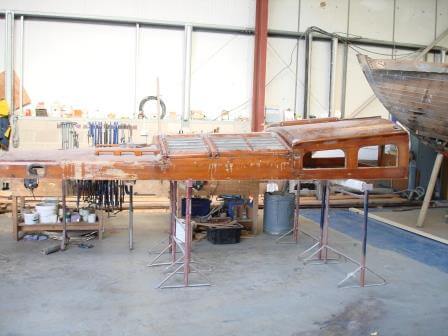
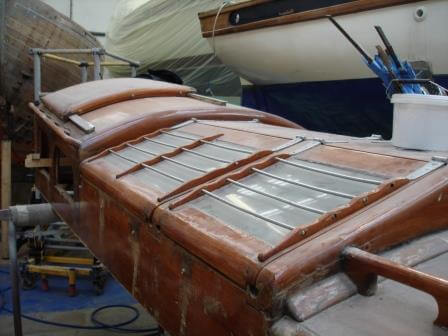
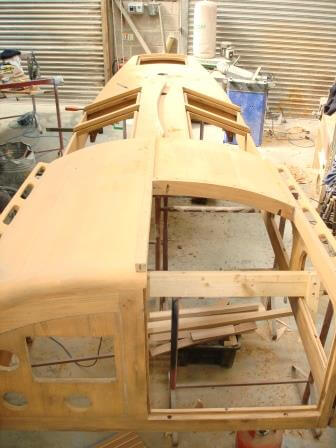
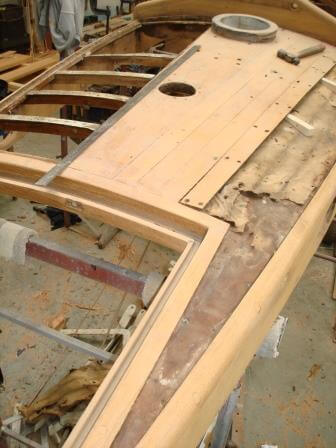


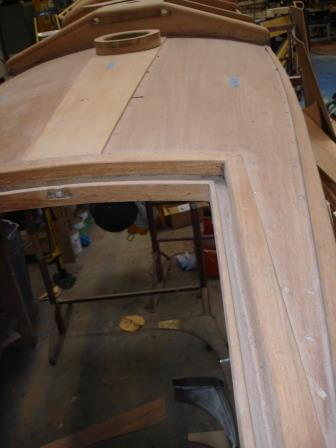
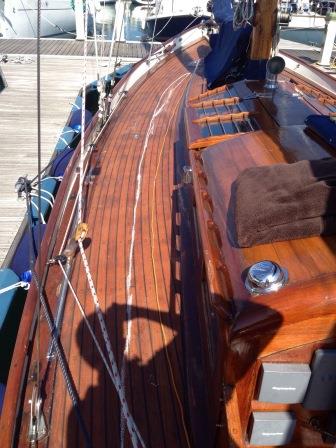
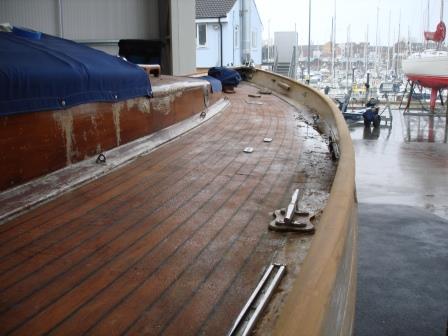
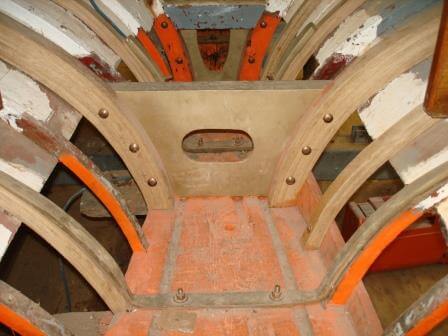
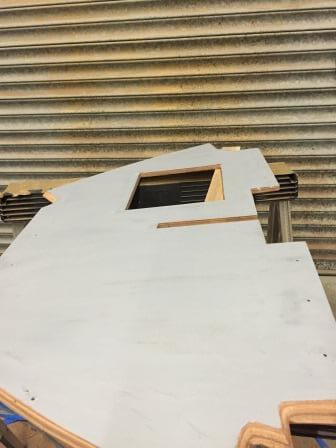
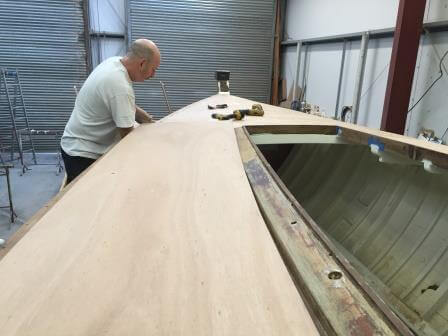
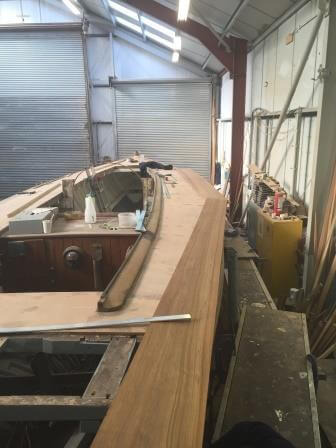
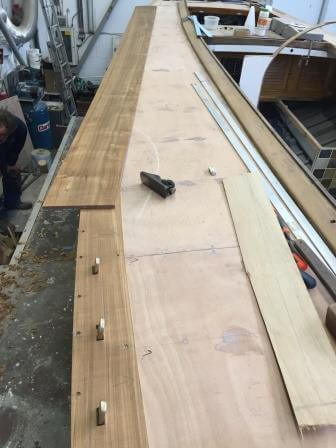
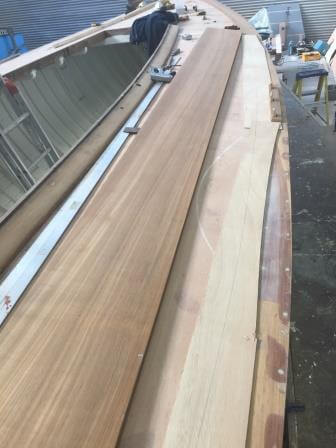
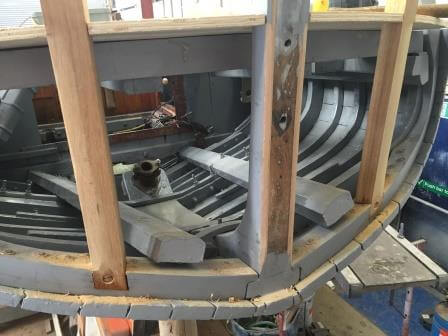
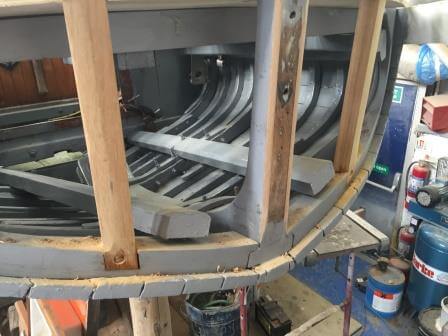
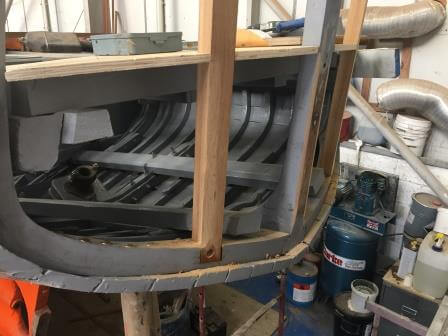
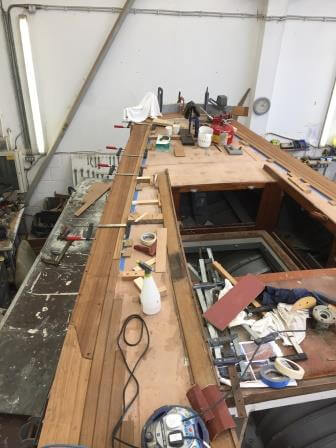
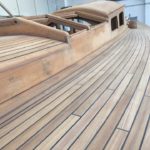
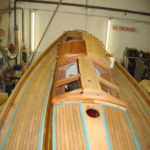
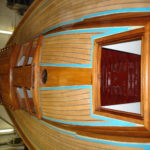
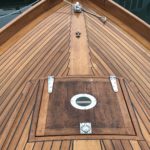
The next area we tackled was the deck, we removed the old deck and re-fitted a new 12mm marine plywood sub deck with hardwood lower margins and then fitted a new teak deck, teak margins and 48mm 5 x 5mm rebate, as with all boats when we removed the old deck it exposed more rotten wood deck beams and the top plank to the hull had to be totally replaced with new.
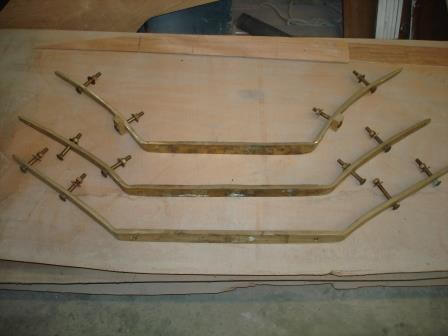
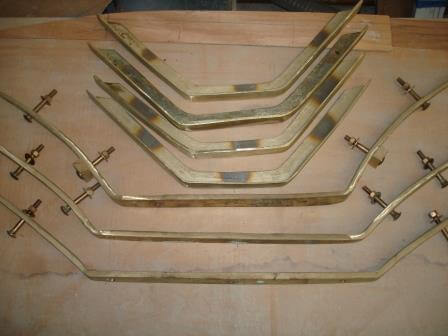
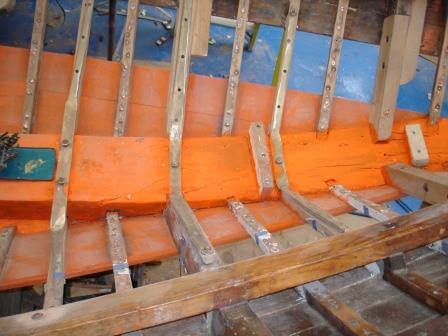
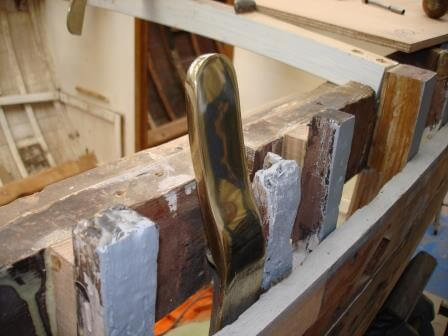
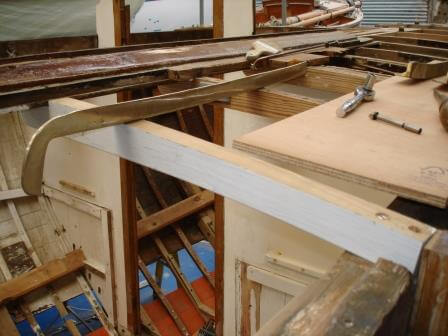
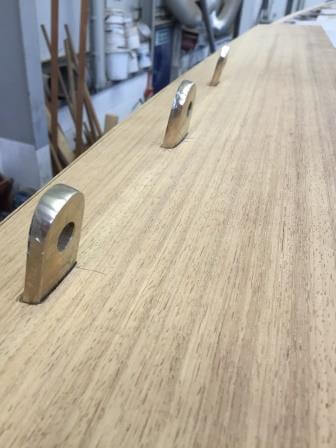
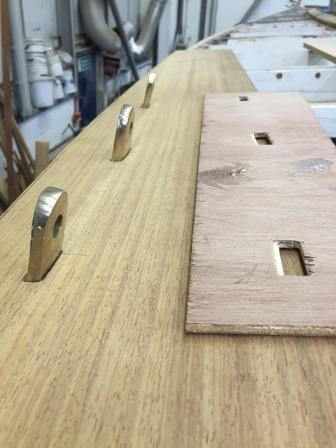
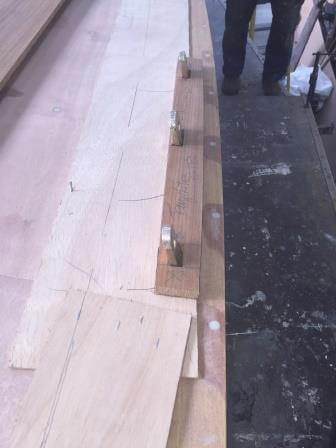
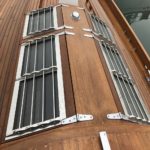
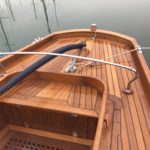
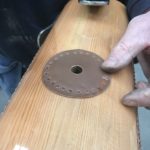
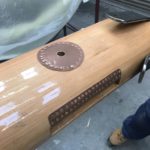
The following pictures show the work to the new chain plates and new chain plate straps and also the bar strapers that all had to be hand made out of silicon bronze bar and all new wood block and the fitting of all.


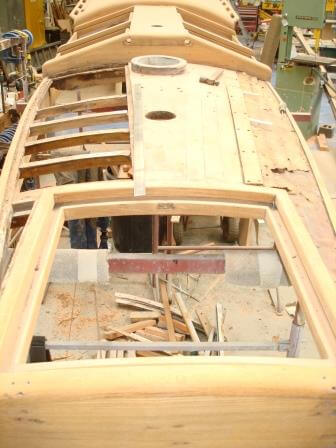
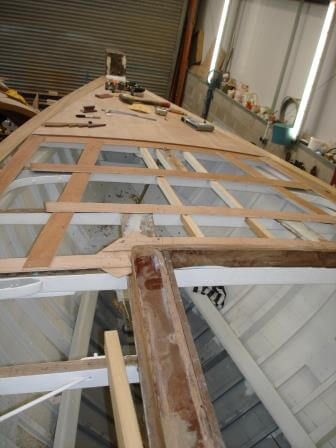
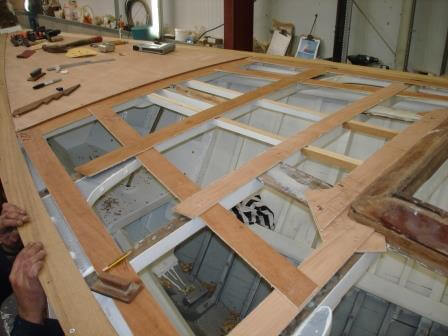
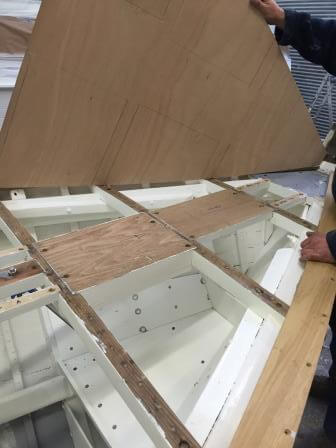
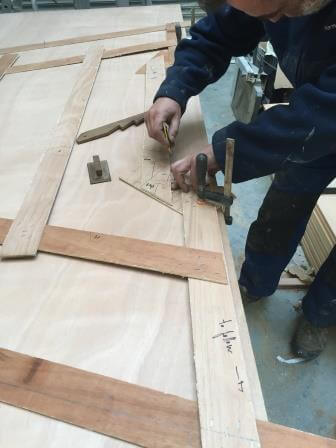
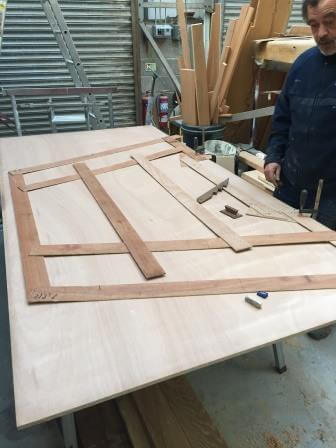
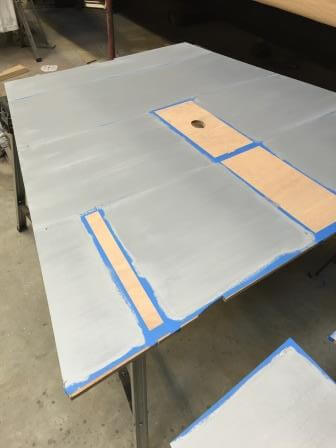
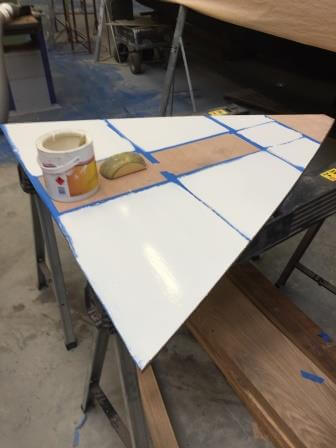
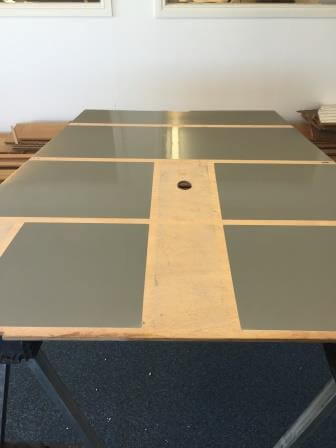
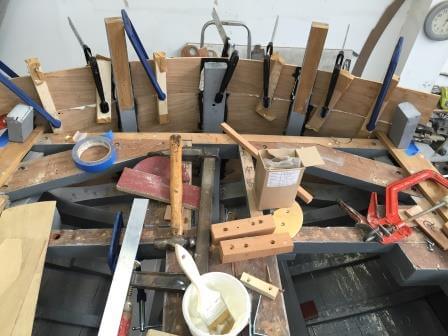
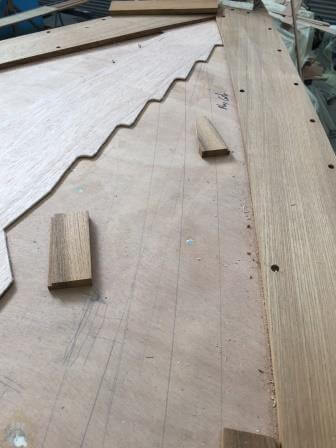
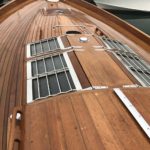
Here is the type of prep work and pre-fitting of plywood panels, all are painted before fitting, this quickens up the finishing time. With access to difficult areas all deck beams are painted and all bulkheads are pre-varnished before fitting, all works carried out is by hand and all are checked before final fitting.
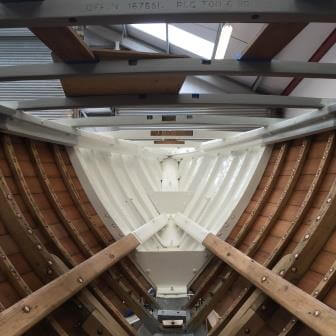


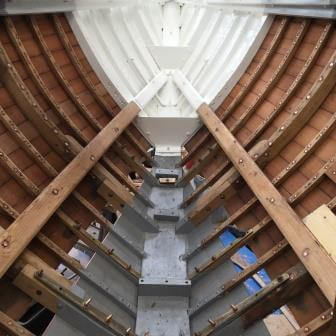
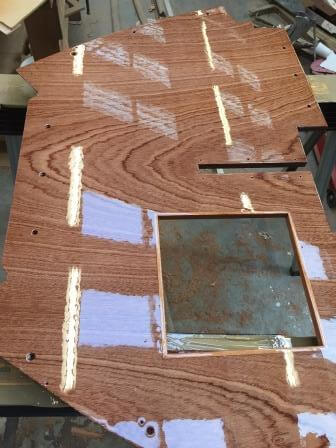
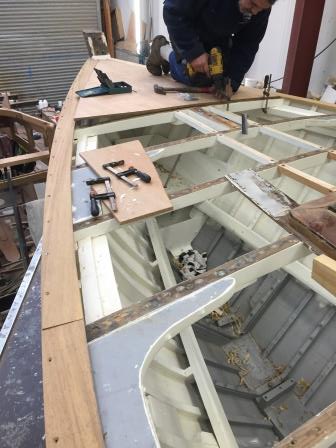


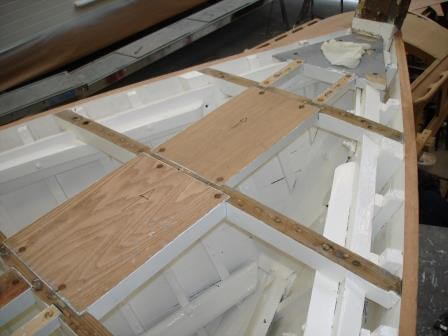
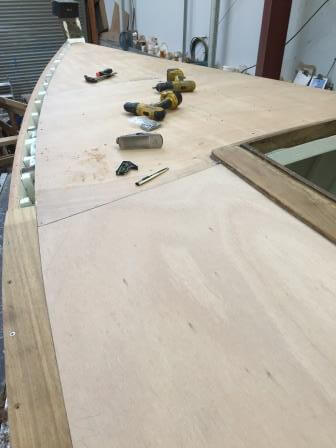
Below you can see all marine ply wood is cut to shape using templates, then taken to the boat and cut to fit, then all is temporary fitted and all deck beams are drawn on and all plywood is taped up and then painted to a gloss finish ready to be fitted to the boat. All are fitted with 316 stainless steel wood screws, all are filled and sanded flush. The hard wood margins are made to fit and glued in place. The whole area is cleaned up ready for new teak deck.


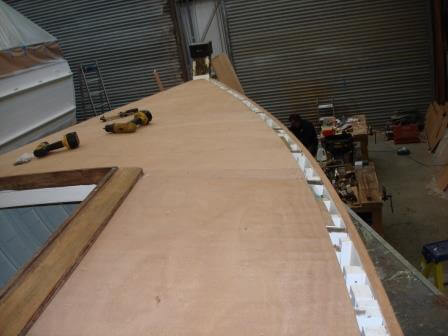


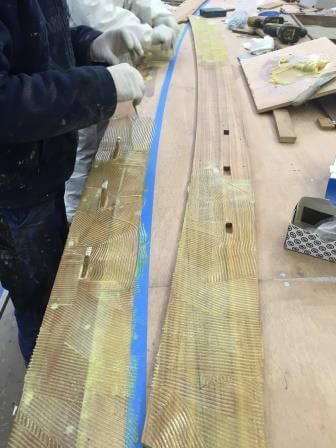
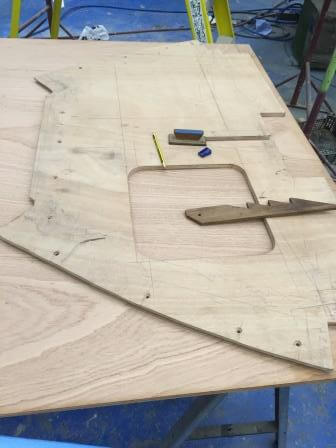
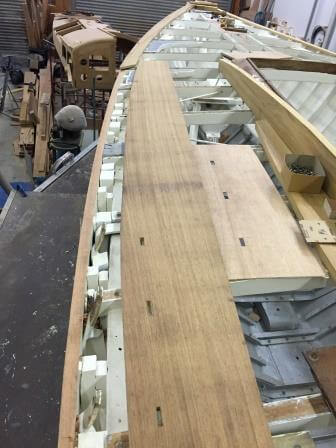
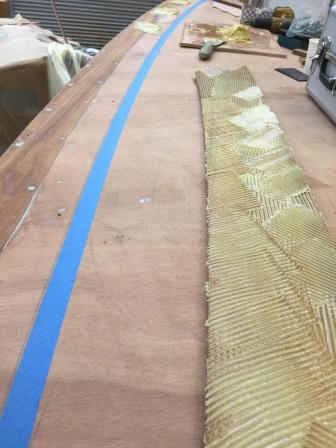
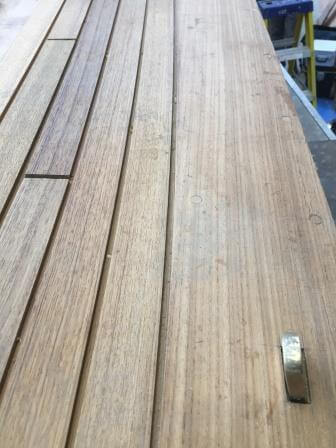
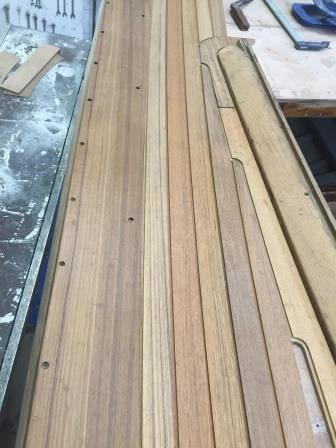
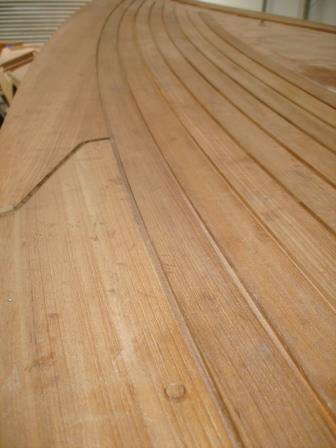
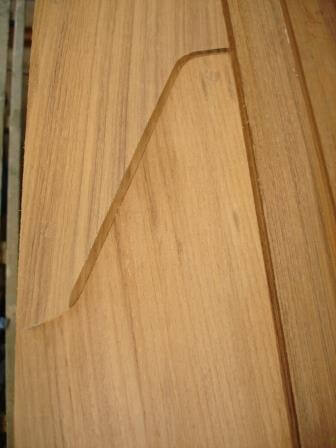
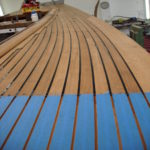
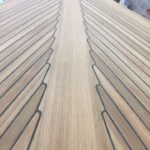
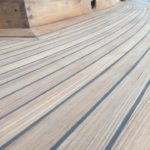
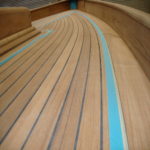
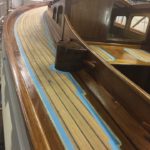
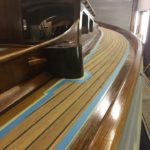
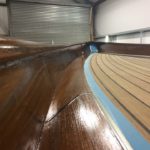
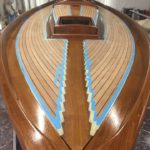
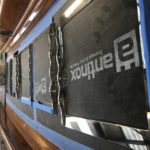
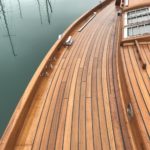
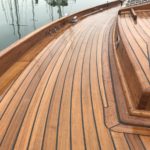
Teak decks with curves like this require large planks of teak, the widest plank we used on this project was 12mm thick 400mm x 3000mm long, this ment we could get a long run on a curve, you can see there were a lot of wide boards required, these were all marked up and all cut by hand along with all rebates being cut with a router. All work was pre-templated before cutting to minimise wastage and so we don’t have any pre-problems with lines. All the glue used in the section are epoxy based glues.


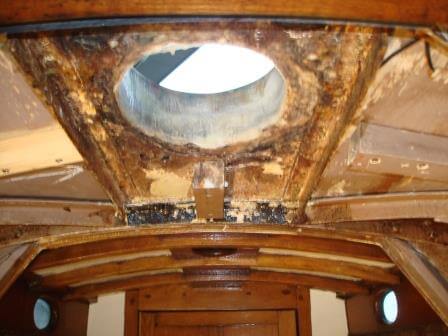
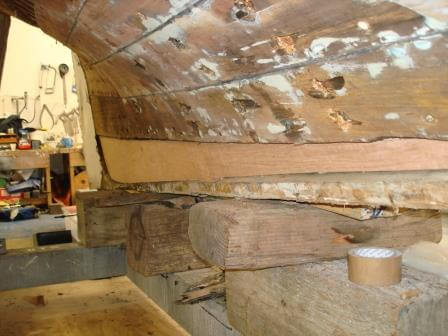
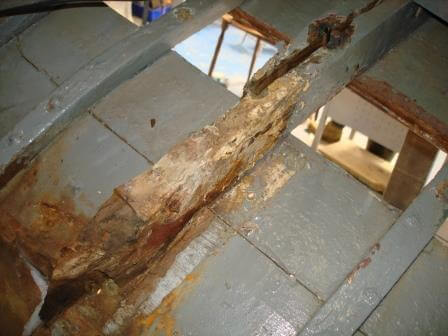
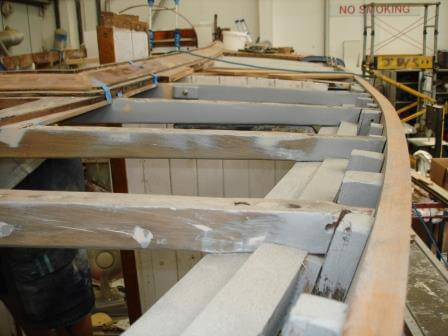
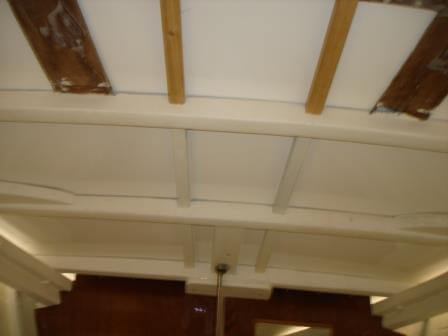
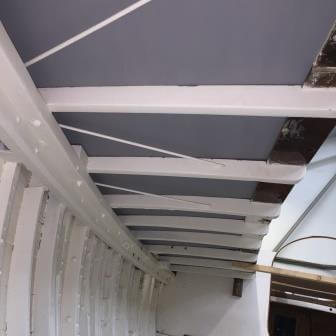
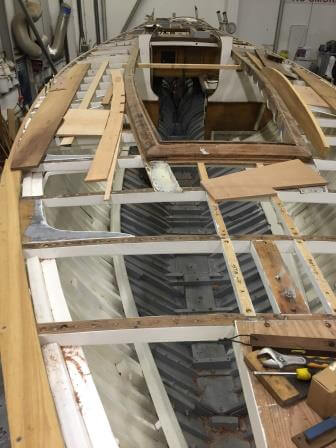
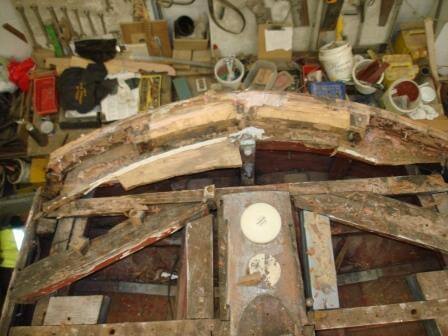
On removal of the aft deck area we found that all deck beams and the transom face was completely rotten and delaminating so we removed all the structure and as you can see from the pictures below it was completely re-built from scratch and all new laminated beams and frames, all were primed and re-dambolined out.


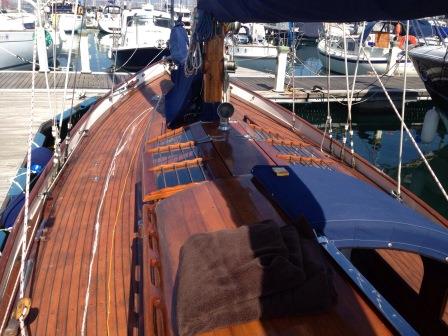
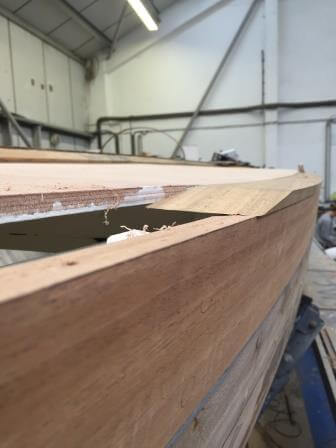
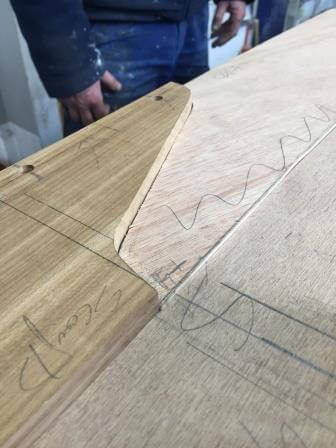
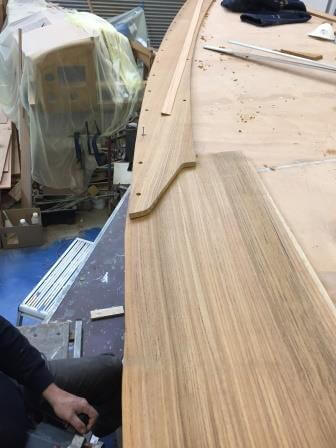
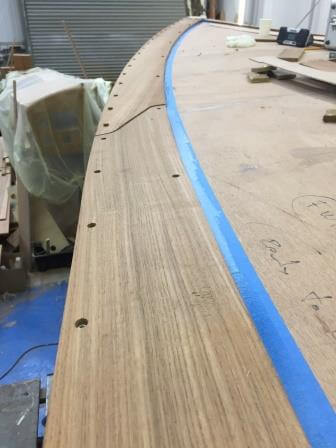
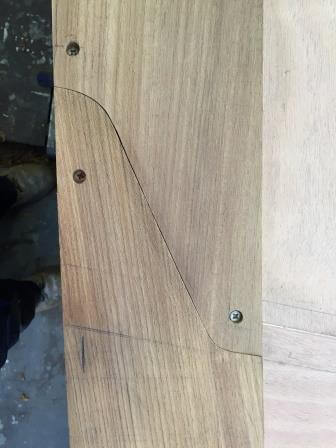
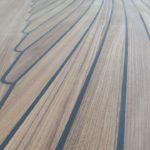
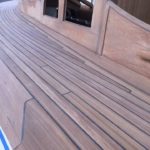
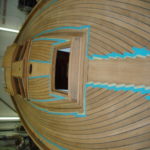
All the teak margins were individually templated and cut from teak boards and finished first then the teak decking individually laid one at a time, due to the clamping and gluing the planks in place.
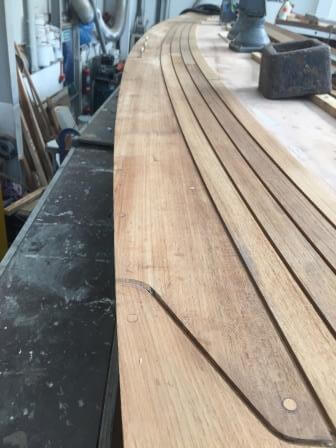
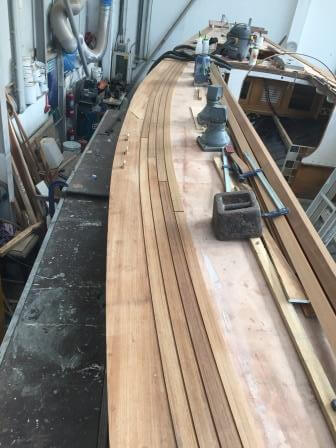
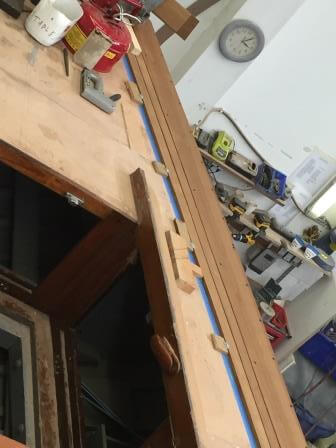

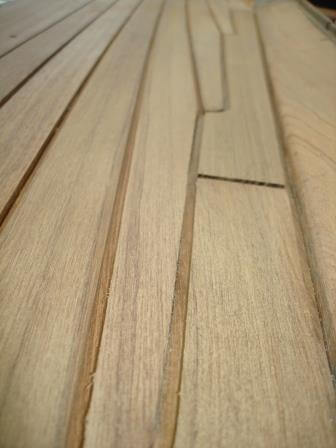


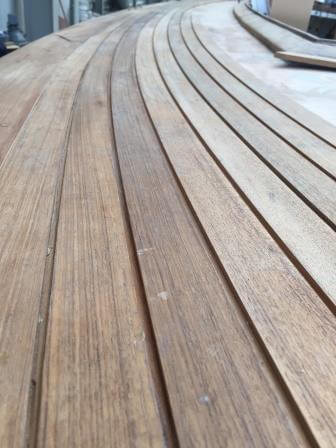

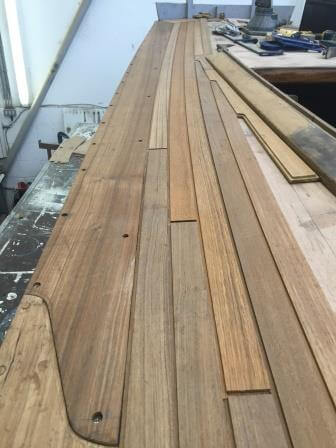


The following pictures are of the teak deck being laid, deck caulking applied with any excess being removed.
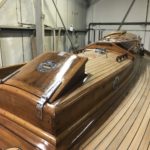
You can see the new coat roof going on, all was finished off with 5 coats of Varnish.

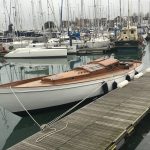
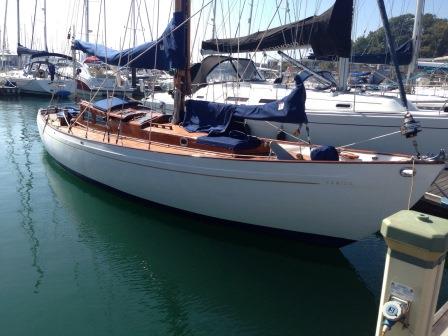
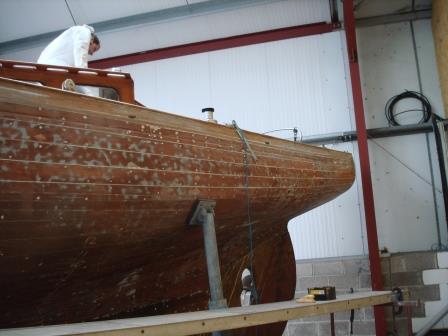
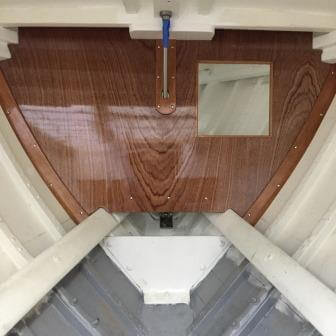
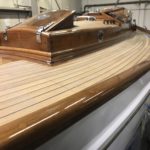
Final stretch of the main project was her hull and interior (The pretty parts)
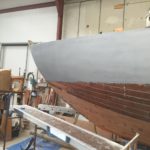
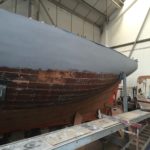
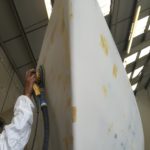
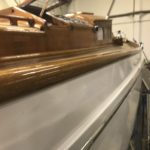
As you can after the hull was blasted we sanded her back and washed her down to removed any contaminants.
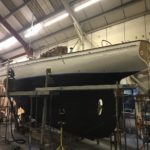
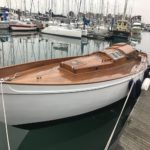
We then applied coats of primer, she was then sprayed with AwlCraft 2000 paint system.
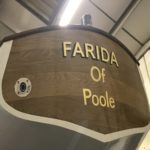
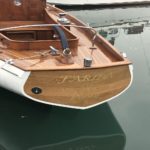
We had new decal/name made to the owners specification and we applied this to the transom, the font used here is Lucida Callgraphy


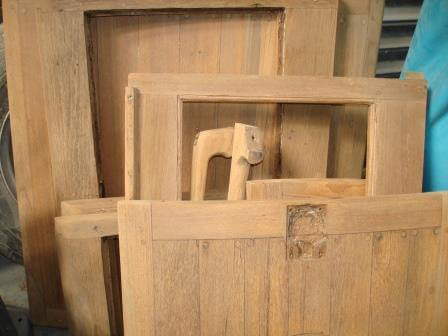
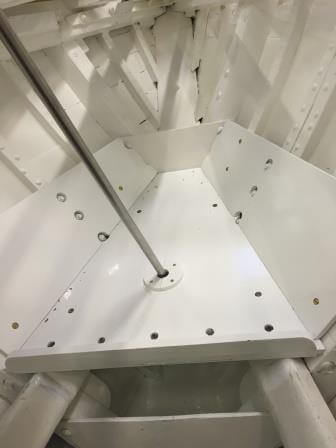
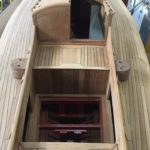
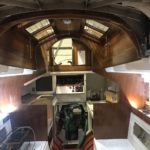
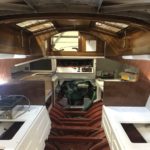
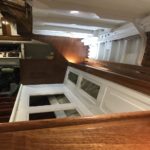
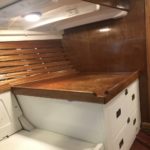
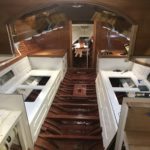
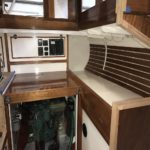
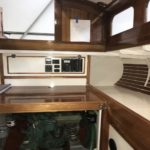
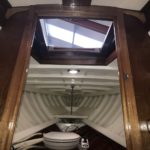
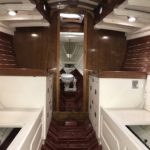
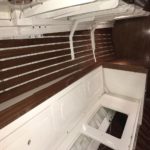
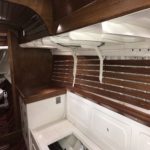
At the start of the job the most of the interior was removed, this enable the owner to have more control over the new layout of the galley and cabin areas.
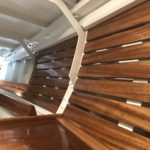
Once the lay out was achieved all was coated on primer and damboline paint and all wood work received 5 coats of Varnish.
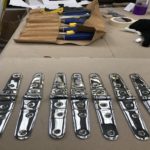
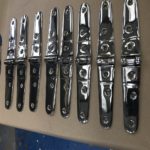
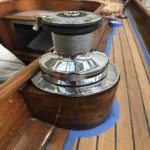
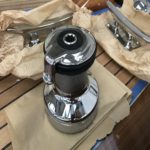
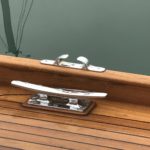
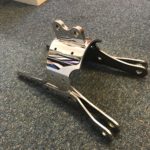
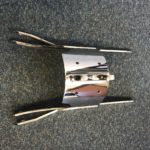
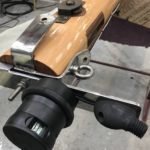
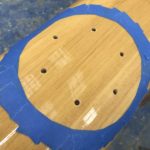
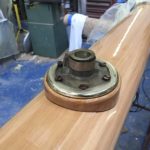
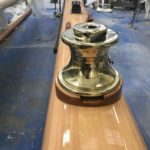
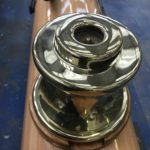
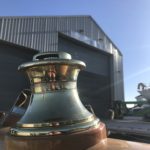
There a few pics of some of the deck hardware we purchased also.
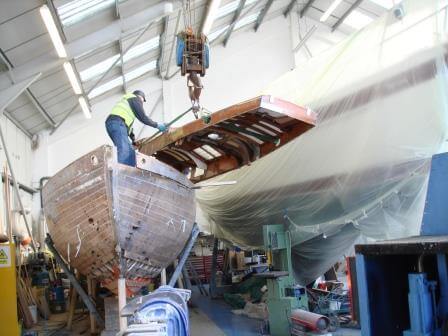
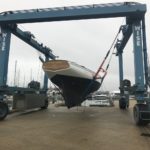
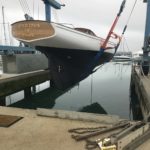
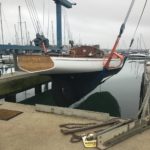
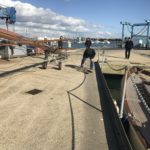
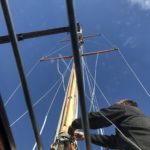
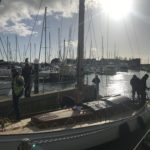
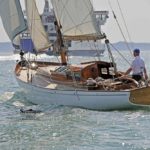
It was then time for her to leave our shed, we launch her in the water where she awaited her new mast to be fitted.

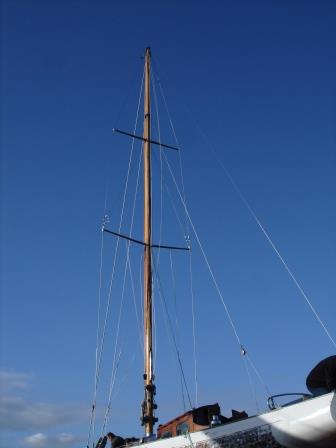
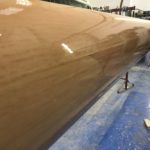
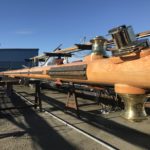
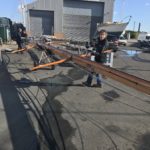
When it comes to a new mast we have a great company that will fabricated to any spec we provide.
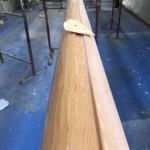
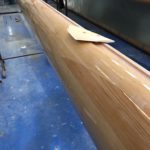
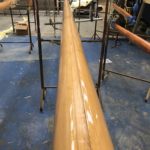
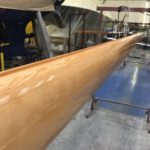
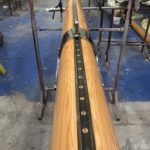
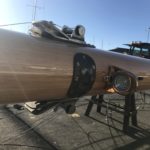
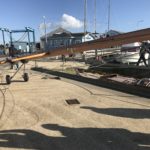
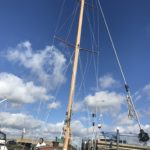
Once we have the new bare mast back in the work shop it is placed on trestles ready for dry fitting of parts and varnishing. all cables are run through the mast.
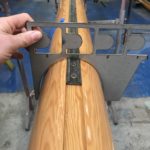
The old track is dry fitted and any alteration required are made at this point.
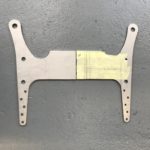
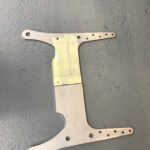
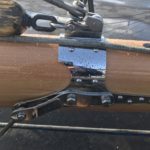
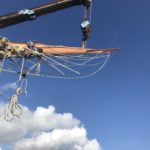
The mast head fitting and spreader fixing are fitted.
Then all parts are removed in preparation for the application of varnish, a light sand is carried out before proceeding with the varnishing coats
Once complete we had 1 Degree West Ltd fir the standing rigging and we assisted them in fitting the mast to the boat.


Since leaving us Farida restoration has been published in a number of boating magazines, please click on the links below to take a look –
https://www.jamestowndistributors.com/userportal/document.do?docId=1225
http://www.sandemanyachtcompany.co.uk/yacht/548/FARIDA